Building a PC is an exciting yet challenging task, and selecting the right case is crucial for both functionality and aesthetics. One of the most popular choices among PC builders is the NZXT H510 Elite—a sleek, modern case that offers both excellent airflow and aesthetic appeal. If you’re looking for a detailed NZXT H510 Elite installation guide, you’re in the right place! This guide will walk you through every step of the process, from setting up your case to installing the components inside. Whether you’re a seasoned builder or a first-time PC assembler, this guide has got you covered.
Why Choose the NZXT H510 Elite?
Before diving into the installation process, let’s quickly explore why the NZXT H510 Elite is an excellent choice for building your dream PC.
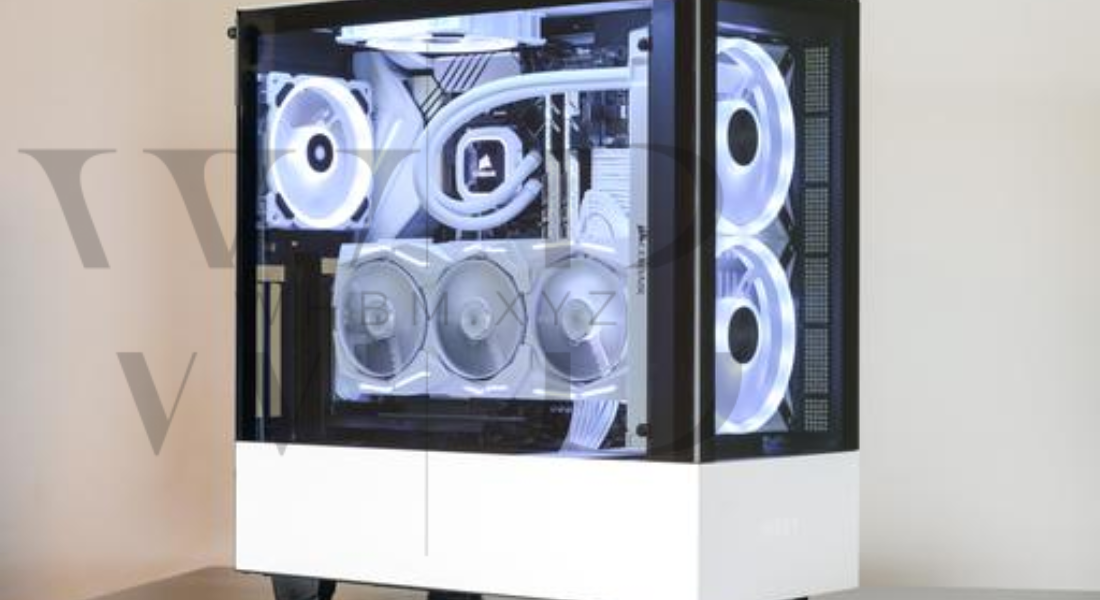
- Aesthetic Appeal: The H510 Elite features a stunning tempered glass front panel and side panels, showcasing the internal components. It’s perfect for those who love showcasing their build.
- Airflow and Cooling: The case supports multiple cooling solutions, including space for two 140mm fans at the front and an additional 120mm fan at the rear, ensuring your components stay cool even under heavy load.
- Cable Management: NZXT is known for its attention to detail in cable management, and the H510 Elite is no exception. It includes a cable management bar and routing channels, making it easier to achieve a clean, organized build.
Now that we know why the H510 Elite is so popular, let’s move on to the NZXT H510 Elite installation guide.
Step 1: Unboxing and Preparing the Case
The first step in this NZXT H510 Elite installation guide is unboxing the case and getting it ready for your build.
- Remove the Case from the Box: Carefully lift the case out of the packaging. Be sure to handle it gently to avoid any accidental damage.
- Check the Contents: Inside the box, you should find the case, the tempered glass panels, screws, and a cable management guide. Double-check everything to ensure you have all the necessary components.
- Prepare Your Workspace: Make sure your work surface is clean, well-lit, and free of static. It’s always a good idea to work on a wooden or anti-static mat to prevent any electrical damage to your components.
Step 2: Installing the Motherboard
Now that the case is ready, it’s time to start the installation process. The next step in our NZXT H510 Elite installation guide is installing the motherboard.
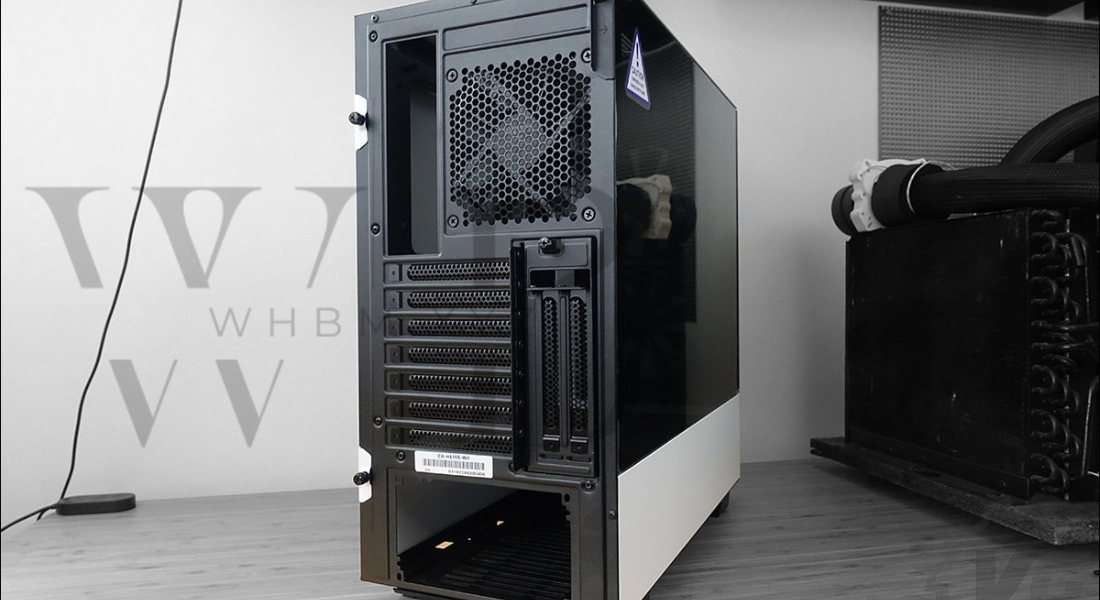
- Install the I/O Shield: Begin by placing the motherboard’s I/O shield into the designated opening at the back of the case. Ensure it’s firmly in place.
- Install the Standoffs: Before placing the motherboard into the case, install the motherboard standoffs (included in the accessories kit) into the corresponding holes. These standoffs will prevent the motherboard from touching the metal parts of the case, which can cause short circuits.
- Place the Motherboard: Carefully align the motherboard with the standoffs and the I/O shield, ensuring that all ports are correctly aligned. Once in place, secure the motherboard with screws.
Step 3: Installing the CPU and RAM
With the motherboard securely in place, it’s time to install the CPU and RAM, two of the most crucial components of your PC.
- Install the CPU: Gently lift the CPU socket lever on the motherboard. Align the CPU with the socket (look for the small triangle marker to ensure correct orientation), and carefully drop it into place. Once seated, close the lever to lock the CPU in place.
- Install the RAM: Find the RAM slots on your motherboard. Open the retaining clips on both sides of each slot and insert your RAM sticks. Apply even pressure until they click into place.
Step 4: Installing the CPU Cooler
With the CPU and RAM installed, it’s time to move on to cooling. The NZXT H510 Elite comes with space for various cooling solutions, and it’s crucial to ensure proper installation to maintain optimal temperatures.
- Choose Your Cooling Solution: The H510 Elite supports both air and liquid cooling. If you opt for air cooling, install the CPU cooler according to the manufacturer’s instructions.
- Liquid Cooler Installation: If you choose a liquid cooler (such as the NZXT Kraken series), you’ll need to install the radiator first. The H510 Elite allows you to mount a 240mm or 280mm radiator at the top, and a 120mm radiator at the rear. Ensure that the radiator is securely mounted before proceeding with connecting the pump and fans.
Step 5: Installing the Power Supply (PSU)
Next, you’ll install the power supply (PSU) in the NZXT H510 Elite. This component provides the necessary power for all your hardware.
- Position the PSU: Slide the PSU into the bottom compartment of the case. The fan should face downwards to intake air from the bottom of the case for better cooling.
- Secure the PSU: Use the screws provided to secure the PSU in place. Make sure it is firmly fastened to avoid any movement.
- Connect Power Cables: Begin connecting the power cables to the motherboard, CPU, GPU, and storage devices. The H510 Elite’s cable management system will make it easy to keep everything neat and tidy.
Step 6: Installing the Storage Devices
In the NZXT H510 Elite, you can install both 3.5-inch and 2.5-inch storage devices.
- Install 2.5-Inch SSDs: The case has dedicated mounts for 2.5-inch SSDs. Simply attach the SSD to the mount and secure it with screws.
- Install 3.5-Inch HDDs: For larger storage, the H510 Elite supports 3.5-inch hard drives. Slide the HDD into its designated mount, and secure it with screws.

Step 7: Installing the Graphics Card (GPU)
One of the most exciting steps in this NZXT H510 Elite installation guide is installing the GPU. The H510 Elite has ample space for high-end graphics cards, and the glass side panel will showcase your GPU beautifully.
- Insert the GPU: Align the GPU with the PCIe slot on the motherboard and carefully slide it into place. Make sure it is fully seated in the slot.
- Secure the GPU: Use screws to secure the GPU to the case, ensuring it’s tightly held in place.
- Connect the Power Cables: Most high-end GPUs require additional power connectors. Connect the appropriate cables from the PSU to the GPU.
Step 8: Cable Management
With all components installed, it’s time to tidy up your build by organizing the cables.
- Route Cables: Use the cable management bar and routing holes in the case to neatly route cables behind the motherboard tray.
- Secure Cables: Use cable ties to bundle cables and prevent them from obstructing airflow. The NZXT H510 Elite has a cable cover to hide cables, giving your build a clean and polished look.
Step 9: Finalizing the Build
The final step in this NZXT H510 Elite installation guide is to double-check everything and power on your system.
- Check Connections: Before closing the case, ensure all components are securely connected and that cables are routed properly.
- Close the Case: Replace the tempered glass side panel and secure it with screws.
- Power On Your PC: Turn on your PC and check the BIOS to ensure that all components are recognized. Once everything is functioning properly, you can install your operating system and drivers.
Conclusion
Congratulations! You’ve successfully built your PC using the NZXT H510 Elite case. This installation guide has covered all the steps required to get your system up and running, from motherboard installation to finalizing your build. With its stunning aesthetics and excellent functionality, the NZXT H510 Elite is the perfect case for any PC enthusiast. Whether you’re gaming, working, or creating, your new PC will be ready to handle any task with style.
By following this NZXT H510 Elite installation guide, you’ll have a smooth and hassle-free experience building your dream PC. Happy building!


